Export Wordpress Content
Once you've completed your local WordPress site in Studio, you'll want to deploy it to your shared hosting.
-
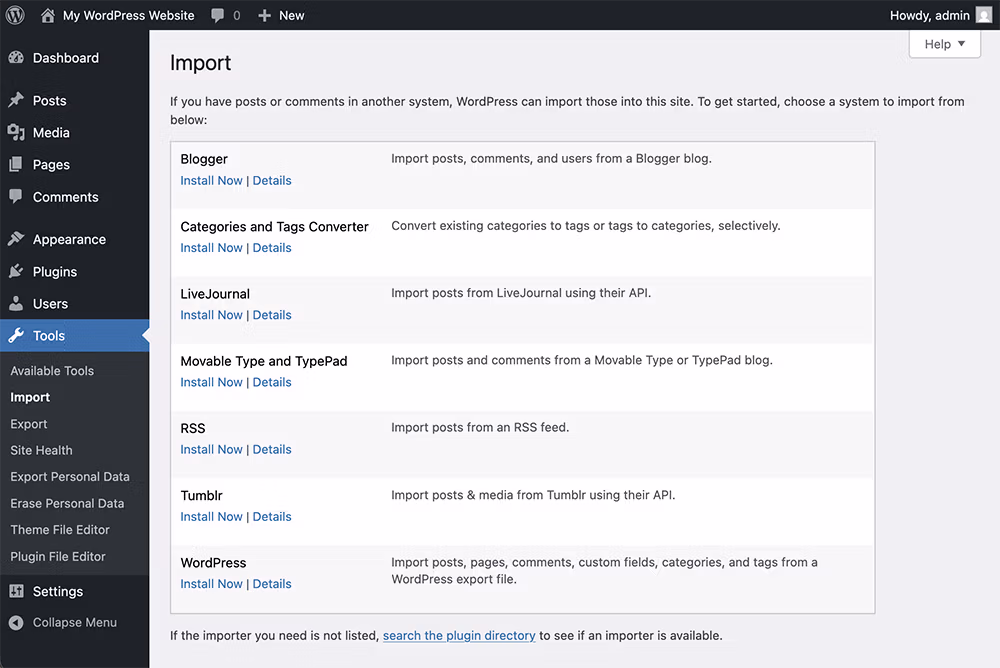
In your local WordPress site, go to Tools > Export. Under WordPress, click "Install Now".
-
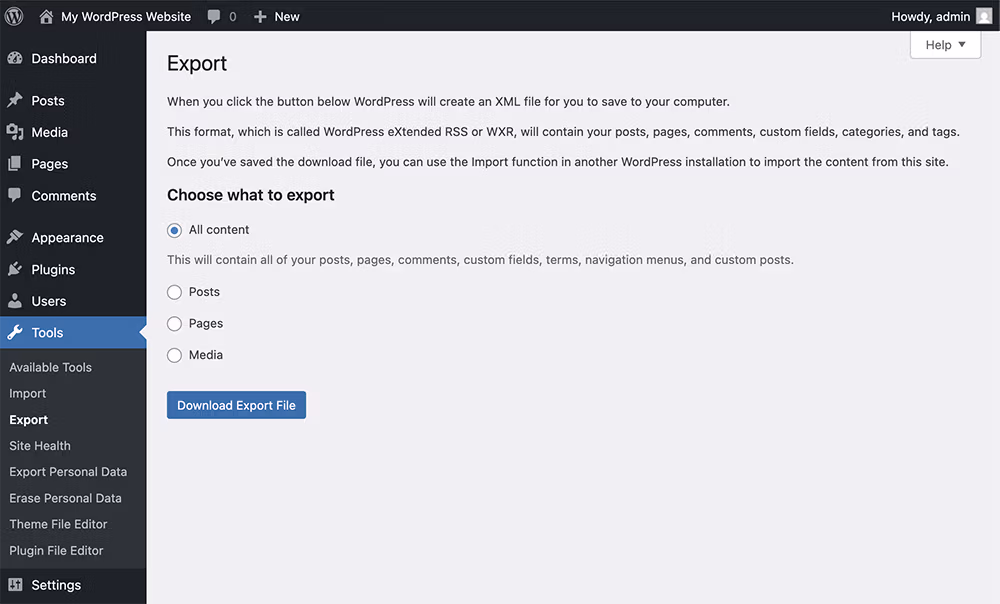
This will bring up the export options. Choose "All Content", then click the "Download Export File" button. This will generate an XML file containing all of your posts, pages, comments, custom fields, categories, and tags and save it to your computer.
-
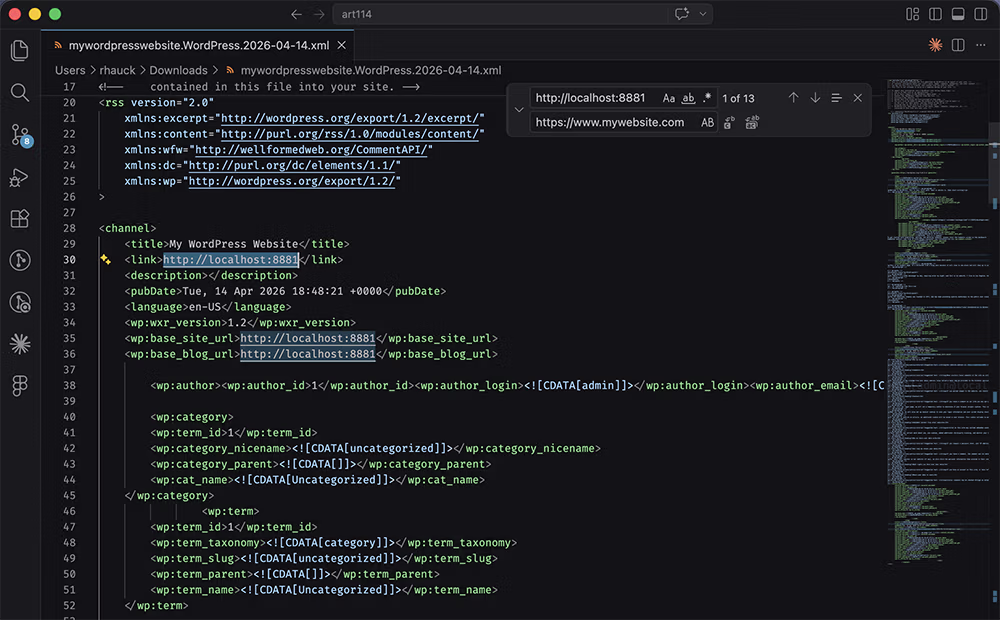
Once the export is complete, open it in VS Code. Do a search and replace to update the URLs in the file to match your new hosting environment.
-
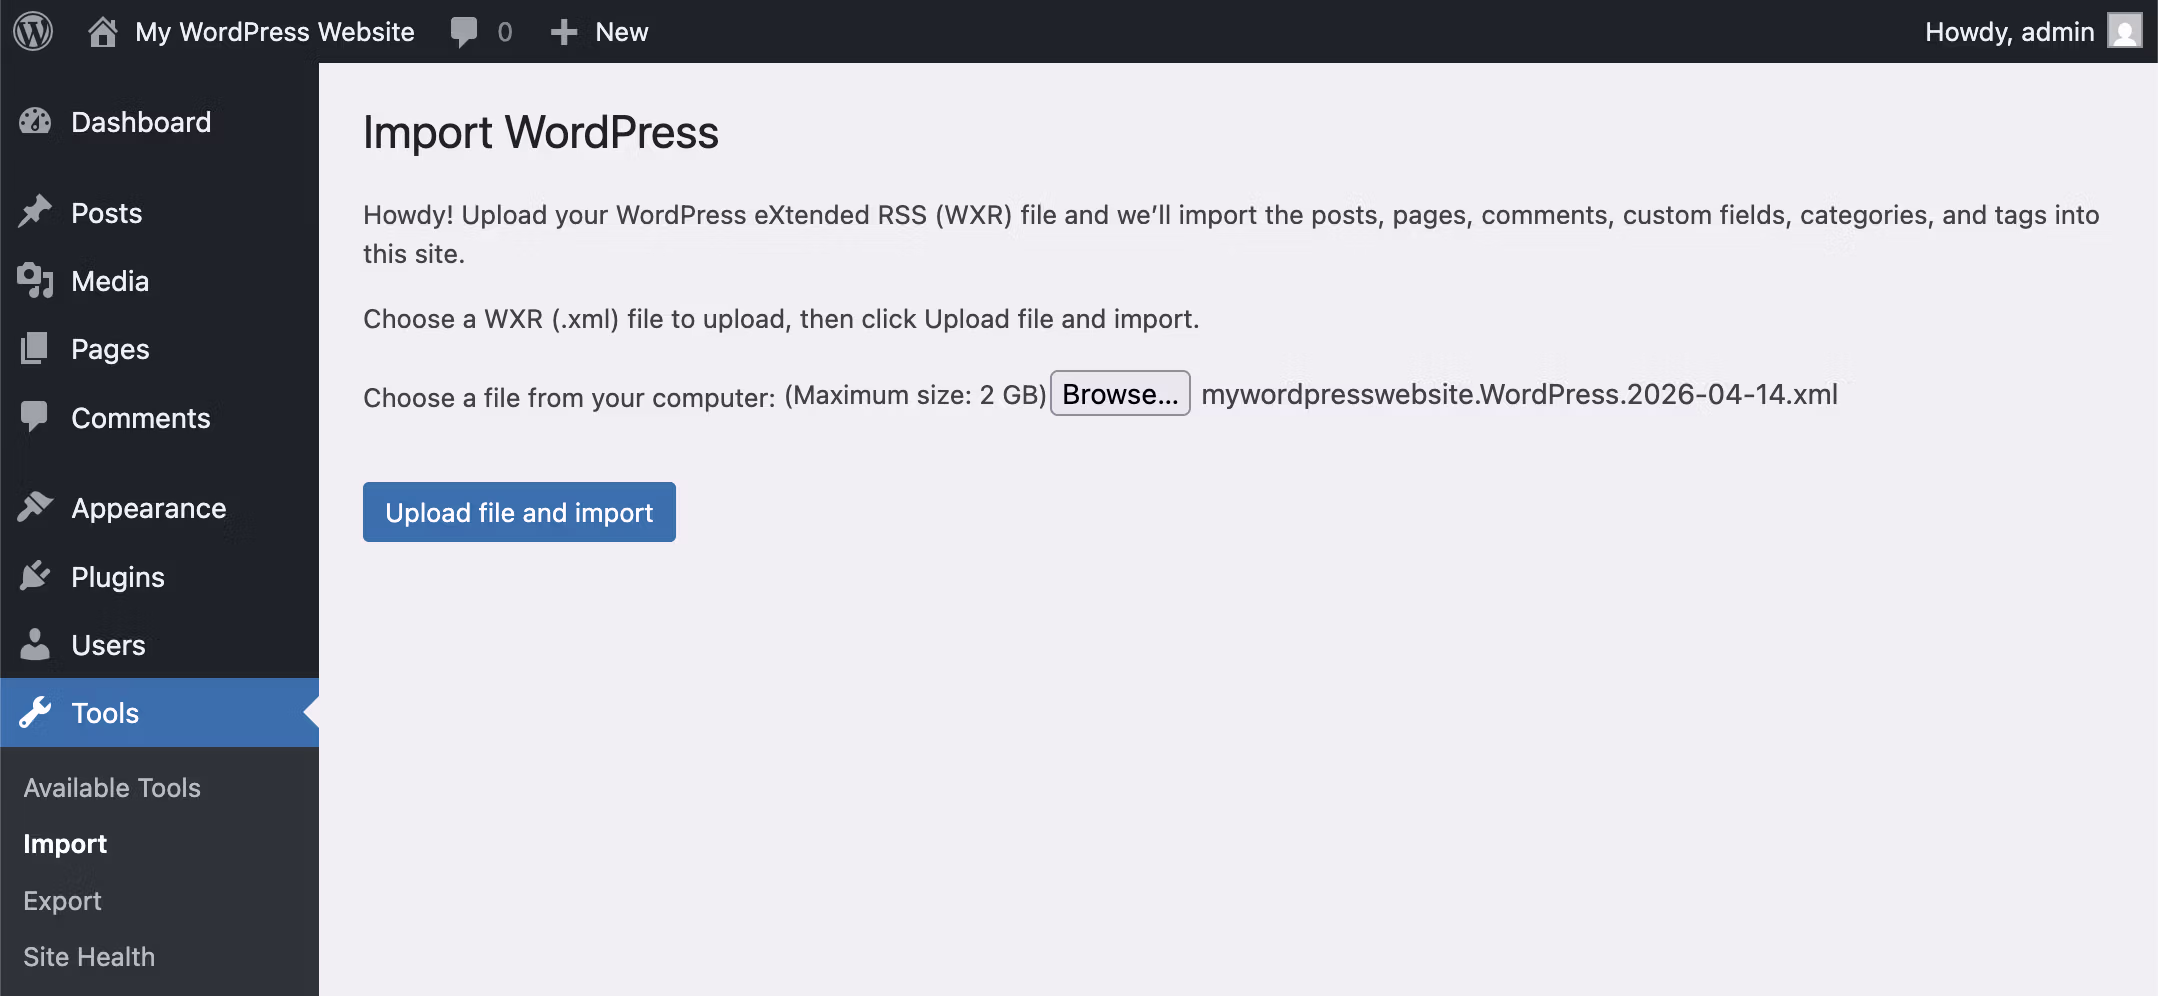
Create a new WordPress site on your shared hosting either manually in CPanel or using a one-click installer like Softaculous.
In that WordPress admin, Navigate to Tools > Import. and upload the XML file.
-
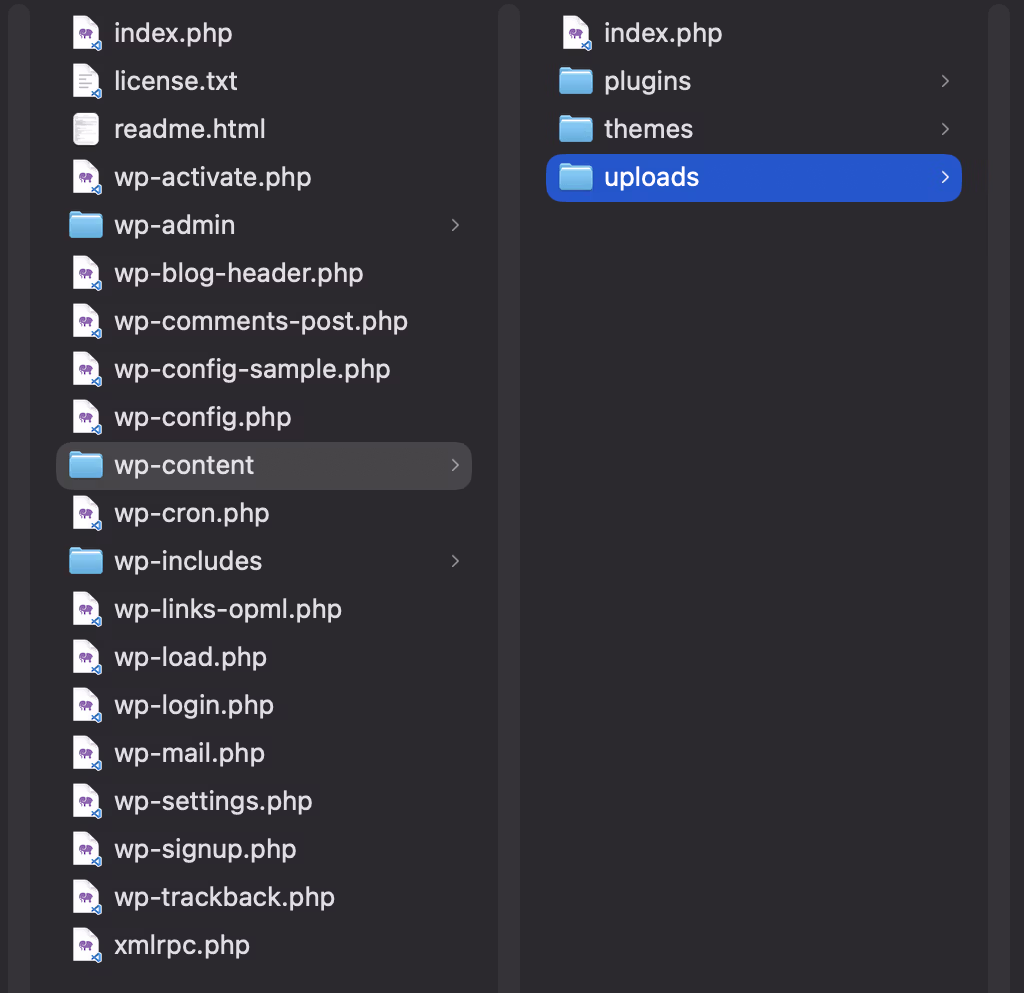
Once the import is complete, you'll have your written content and structure from your local site's database, but you'll still need to upload your media files. In your local WordPress site, go to the "wp-content/uploads" folder and upload all of the files in that folder to the same location on your shared hosting using FTP.
You might need to upload any plugins or themes as well, so for the last step you could also just upload the "wp-content" folder. Otherwise, that's it!